


 Sell on Robu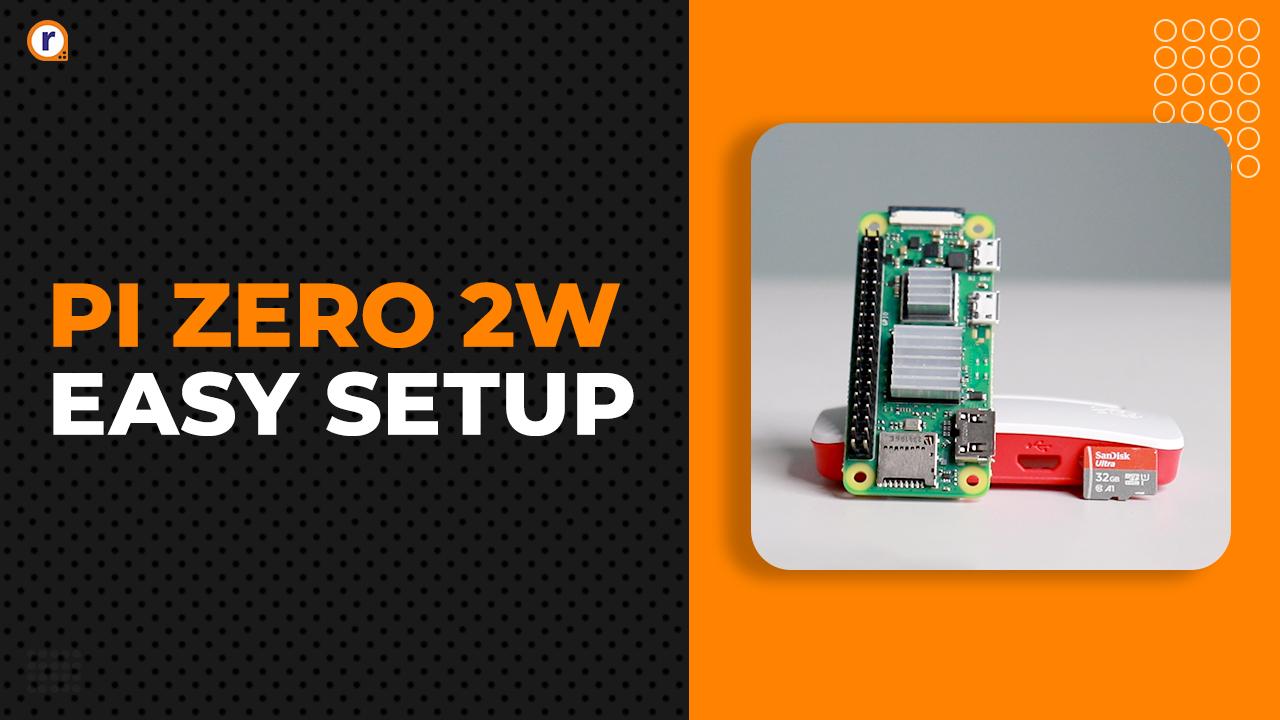


In this blog, I'll guide you though the process of setting up of the Raspberry Pi Zero 2W.
So without any further delay, lets get started.
What is Raspberry Pi ?
It is a small, affordable, single-board computer developed by the Raspberry Pi Foundation. Designed initially for educational purposes, it provides a platform for learning programming and computer science. Over time, it has gained popularity among hobbyists and professionals for its versatility in various projects, such as home automation, media centers, robotics, and more.
The Raspberry Pi runs a variety of operating systems, most notably Raspberry Pi OS (formerly Raspbian), which is based on Debian Linux. It supports programming languages like Python, C, C++, Java, and others, making it an ideal tool for both beginners and advanced users.
The device features USB ports, HDMI output, GPIO pins for hardware projects, and network connectivity, making it a powerful and flexible tool for numerous applications.
Given its low cost, robust community support, and wide range of uses, the Raspberry Pi has become a significant tool in the maker movement, education, and industry.
Pi Zero 2W
The Raspberry Pi Zero 2W is a compact and cost-effective variant of the Raspberry Pi series, designed to offer significant performance improvements over its predecessor, the Raspberry Pi Zero W.
Released by the Raspberry Pi Foundation, the Pi Zero 2W retains the small form factor of the original Pi Zero models but its new features and enhanced specifications, making it more capable for various projects.
Features -
- A quad-core 64-bit ARM Cortex-A53 CPU, which provides a significant performance boost compared to the single-core CPU of the original Pi Zero.
- 512MB of LPDDR2 SDRAM, sufficient for lightweight computing tasks and various IoT applications.
- Integrated 2.4GHz IEEE 802.11b/g/n wireless LAN and Bluetooth 4.2, offering robust wireless communication capabilities.
- CSI-2 camera connector, allowing the attachment of Raspberry Pi camera modules.
- Mini HDMI port for video output.
The Raspberry Pi Zero 2W is designed to be a low-cost, low-power solution suitable for projects that require a small form factor and modest computing power. Its improved performance and connectivity make it ideal for embedded applications, DIY electronics, portable projects, and educational purposes.
Hardware Requirements of this Project
Software Requirements of this Project
Circuit Diagram and Hardware Interfacing
Circuit Diagram

Hardware Interfacing
Raspberry Pi Zero 2W
|
Pi Zero 2W |
LED |
|
GPIO 4 |
+ve |
|
GND |
-ve |
Setting up the MicroSD Card
Slot the MicroSD Card into the card reader and connect it to the pc. After that open up the Imager tool which was download from the above given link. And follow the selecting all the step.
Don't forget to change the configuration, where you can change hostname, username, password. Along with Wi-Fi name and password. Which is important, as later we could use SSH to connect to our pi, so correct Wi-Fi username and password is important.
After that continue with the process, and it'll download the latest imager and flash it onto the MicroSD card. It might take few minutes depending on your internet speed. But after that it'll be done, and take out the MicroSD Card and slot it into the Pi Zero 2W.
Coding
Firstly we need to ssh into the pi zero 2W or if you have attached display and keyboard to it, that would do too.
Non SSH:
Enter your username and password to login to your account which you've made using the setting up of the micro SD card.
SSH:
To SSH into your pi, open CMD on your pc. And enter ssh [username]@[hostname]. Then it'll ask you to save the device if its the first time you're connecting via SSH. Enter yes and continue, it'll ask for your password. And you'll be in after you've entered the password which you've used during the setup.
Before you copy the following code, you need to do few things first. Which are not that important but good to do before hand.
Check for any update by running command:
sudo apt-get update && sudo apt-get upgrade -y
Making folders/directories for organized keeping of files:
mkdir [folder_name] :eg- mkdir blink
cd [the_same_folder_name]/ :eg- cd blink/
Create python file using the command:
sudo nano [file_name].py :eg- sudo nano test.py
Now copy the code and paste it into the editor and press ctrl+s and ctrl+x to save and exit the text editor.
import RPi.GPIO as GPIO
from time import sleep

pinLED = 4

GPIO.setmode(GPIO.BCM)
GPIO.setwarnings(False)
GPIO.setup(pinLED, GPIO.OUT)

while True:
        GPIO.output(pinLED, GPIO.HIGH)
        print("LED on")
        sleep(1)

        GPIO.output(pinLED, GPIO.LOW)
        print("LED off")
        sleep(1)
After saving the file, run it by using this command:
python [file_name].py :eg- python blink.py
Working of the Project
There's not much to explain here. What we've done here is that we've written a simple loop turning on and off the GPIO 4, controlling the LED turn on and off.
Conclusion
Well, after this we're able to setup and control GPIO pins of the Raspberry Pi Zero 2W from scratch. Hence in future projects we'll be able to make more complex projects.
- For more such Arduino and Raspberry Pi Pico based projects,
check out our Arduino Playlist and Raspberry Pi Pico Playlist
- And for other more interesting projects, check our main YouTube Channel






Leave a Comment Your email address will not be published. Required fields are marked*