


 Sell on Robu


After spending money on the raspberry pi are you wondering if you could connect it to your laptop display instead of connecting it to your TV or Monitor. Yeah ! it is possible to do so. In this article you will learn how you can connect your Raspberry Pi with your laptop
It is a pretty easy setup to do. I will go through it step by step. So let's get straight ahead.
Step 1 : Download Prerequisites
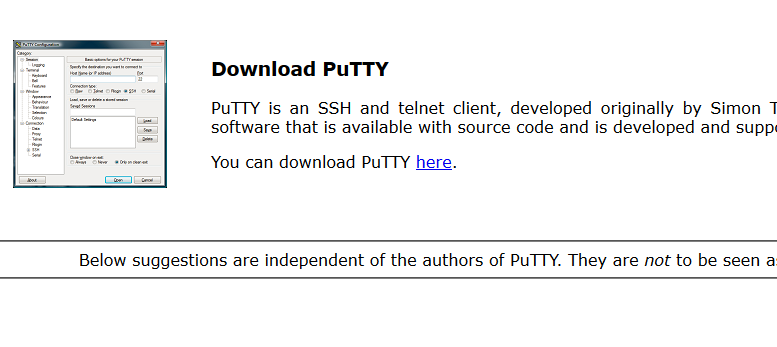
- Putty is necessary for this, You can download putty from here.
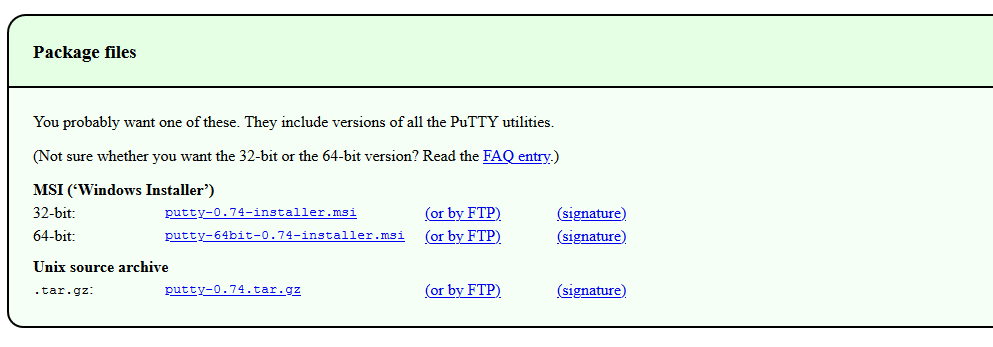
- After clocking the download dialog you will be asked to choose the type of installer you would like, you can choose according to your system(32 bit, 64 Bit Windows or Unix tar ball)
Note-You need to put a SSH named Blank file in the Raspberry pi's BOOT partition from the PC before we get ahead and do the whole process.
- After downloading the putty just simply install it in your system. Open it and we will now go to the connection process.
Step 2 : Getting IP of your Raspberry Pi
To get the IP of your Raspberry Pi there are several processes which I have discussed in another blog, discussing it here will only make this article lengthy. Click this link for that blog.
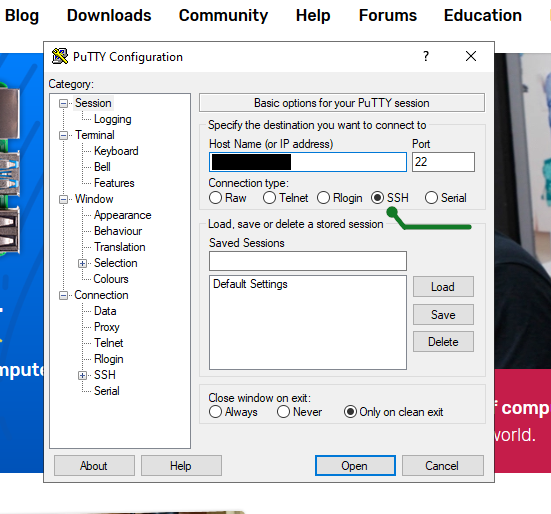
- Put you IP and you don't need to change the port, just click on SSH as shown in above Image.
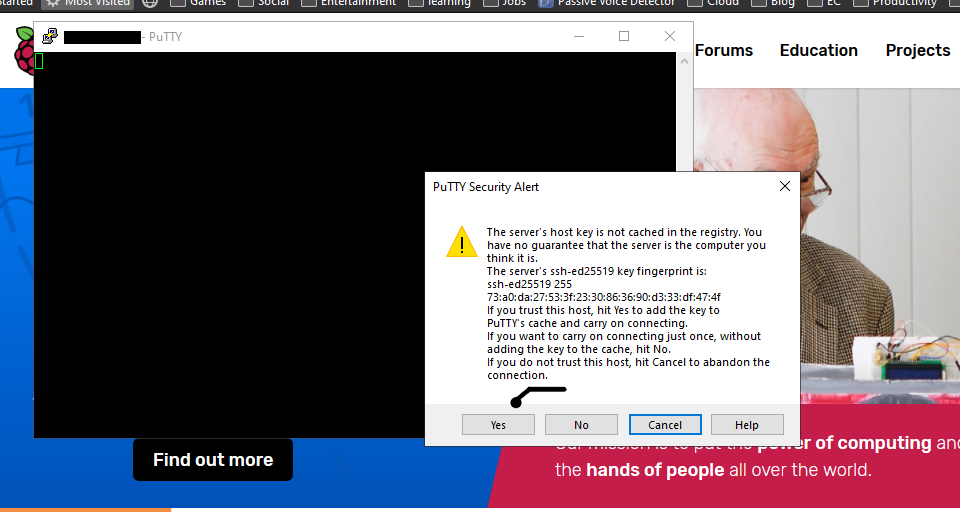
- Click yes as shown in the above image.
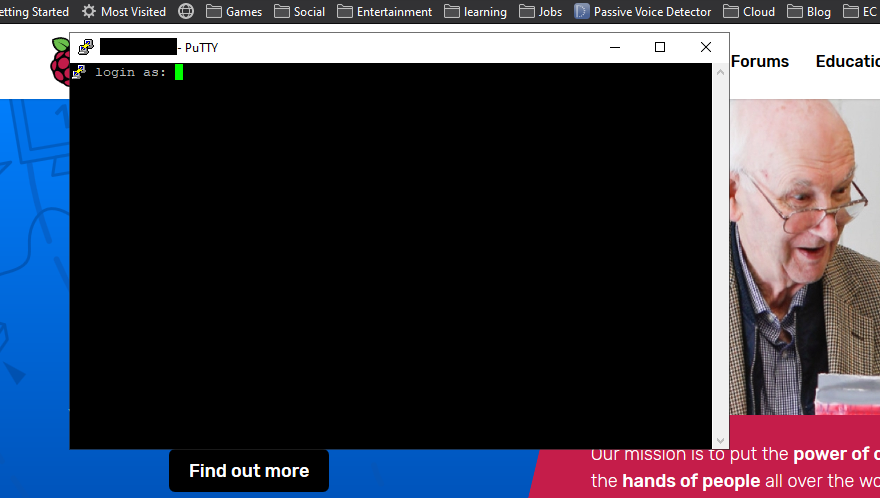
- Once it gets connected. Type username- "pi" and pswd- "raspberry" its default(don't panic if you don't see the password while typing).
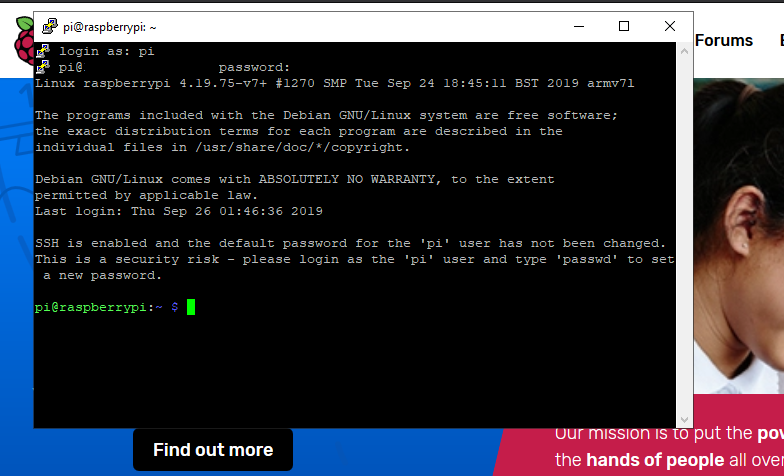
- You will see something like this after the connection. Now you are done. You can access your pi through this terminal, its the same raspberry pi terminal. You can run various tasks through it. If you want to view your raspberry pi screen on the laptop you can follow the below steps.
Step 3 : Connecting VNC through Putty
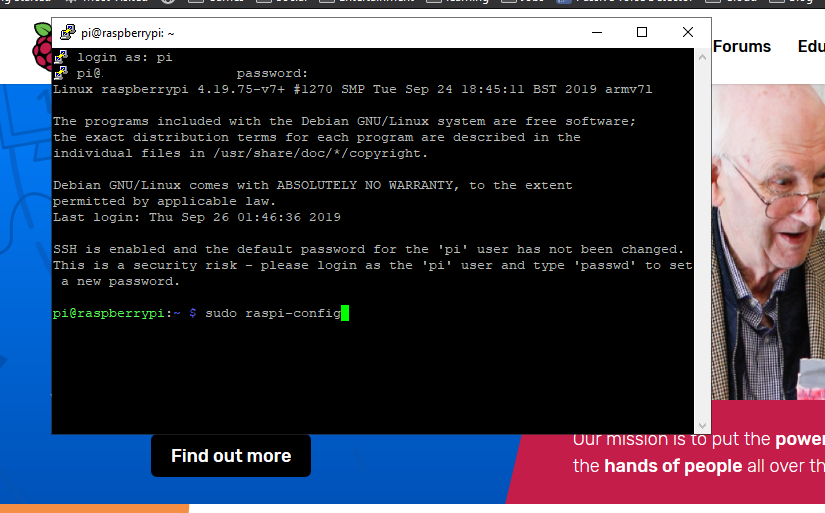
sudo raspi-config- After that in the terminal type above command.
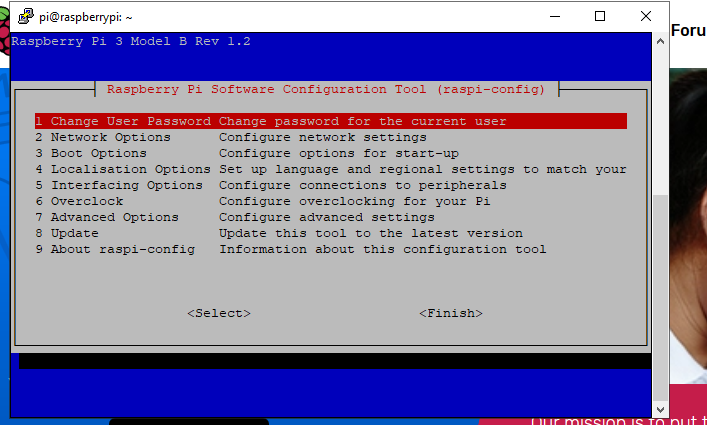
- The config menu of raspberry pi will pop up just go to Interfacing options> VNC > Enable it. After that just restart your Pi.
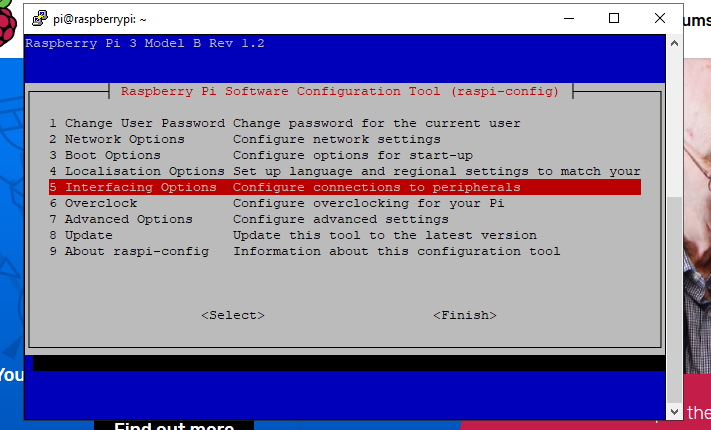
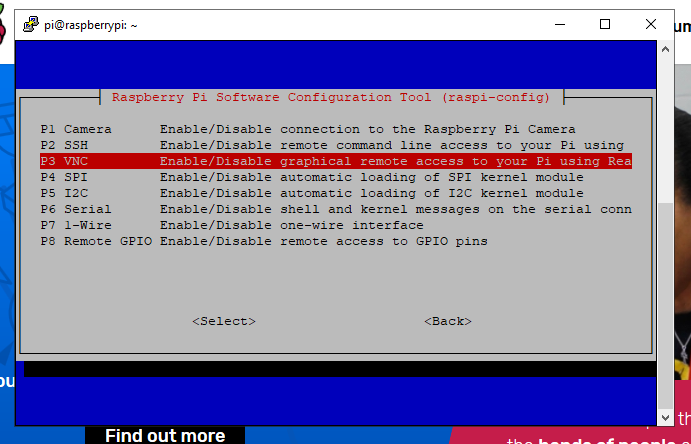
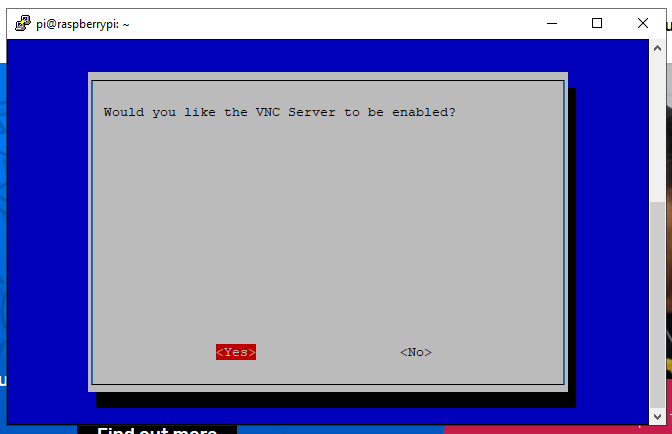
Once VNC is enabled you can put the IP of your Raspberry Pi into the VNC viewer and view your raspberry pi on the laptop screen or phone screen or if you don't wanna use VNC, you can directly use your raspberry pi through its terminal and run tasks. That's it for today's blog.
Hope you like the article. If you think something can be added let me know. Share this article to your friends and let me know what they think about it. If you have any suggestions on articles about raspberry pi, please let me know I would be happy to make them. See ya until next time...Sayonara!




Leave a Comment Your email address will not be published. Required fields are marked*