


 Sell on Robu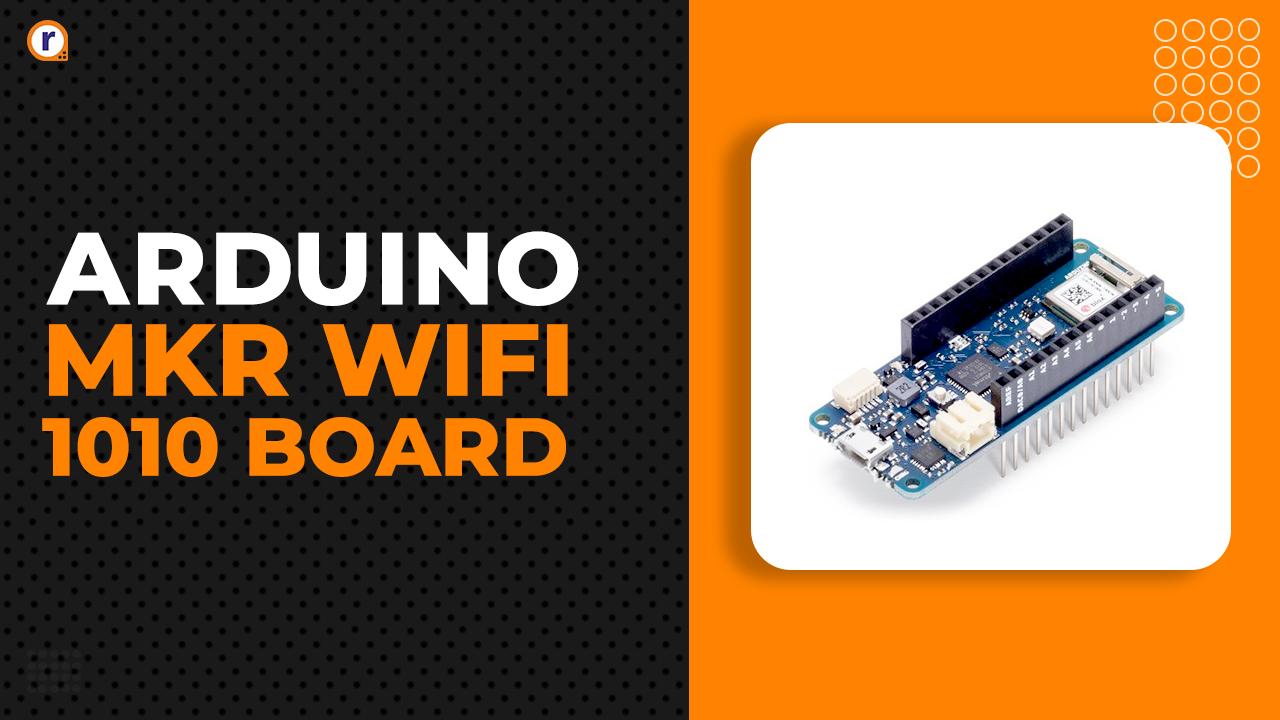


A board that has Wi-Fi, Bluetooth and many interesting features. which gives perfect combination for IOT projects also provides leverage of Arduino cloud Environment which allows user to program board and access code from anywhere.
Arduino MKR Wi-Fi 1010 Has
- Bluetooth
- Wi-Fi
- 8 Digital I/O Pins
- 12 PWM Pins
- 256 Flash Memory
- 32 KB SRAM
- SAMD21 Cortex-M0+ 32-bit low-power ARM MCU Microcontroller
What is Arduino MKR Wi-Fi 1010 Board
The MKR Wi-Fi 1010 is a small board with SAMD21G18A Processor, Nina W102 Module and a ATECC508 Crypto chip . it has in build 2.4GHz Wi-Fi which supports up to 13 channels and 2.4GHz Bluetooth with 79 channels speed up to 3Mbps and BLE 2.4 GHz with 40 channels speed up to 1 Mbps, The board has in build BQ24125L I2C Controlled USB/Adapter Charger which can charge battery with 92% efficiency and can also act supply for board.
Need more detail visit Arduinos official site -https://docs.arduino.cc/hardware/mkr-wifi-1010/
Programing MKR1010 board
Arduino Desktop IDE
To program programing MKR 1010 offline Arduino Desktop IDE is needed
If you don't have it download it from Arduino official site
open it
open the bord manager
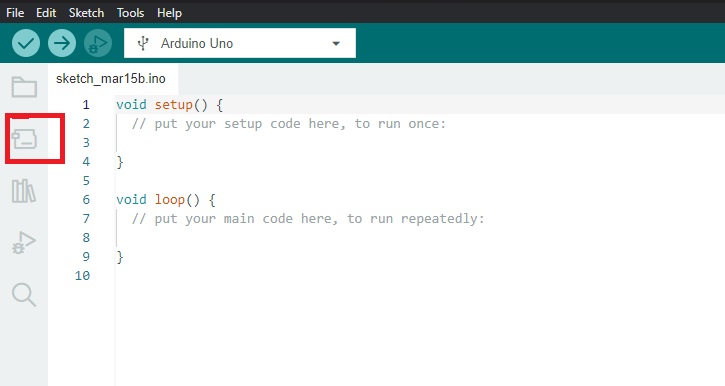
and type MKR 1010 in search bar and click on install

Give the necessary permission
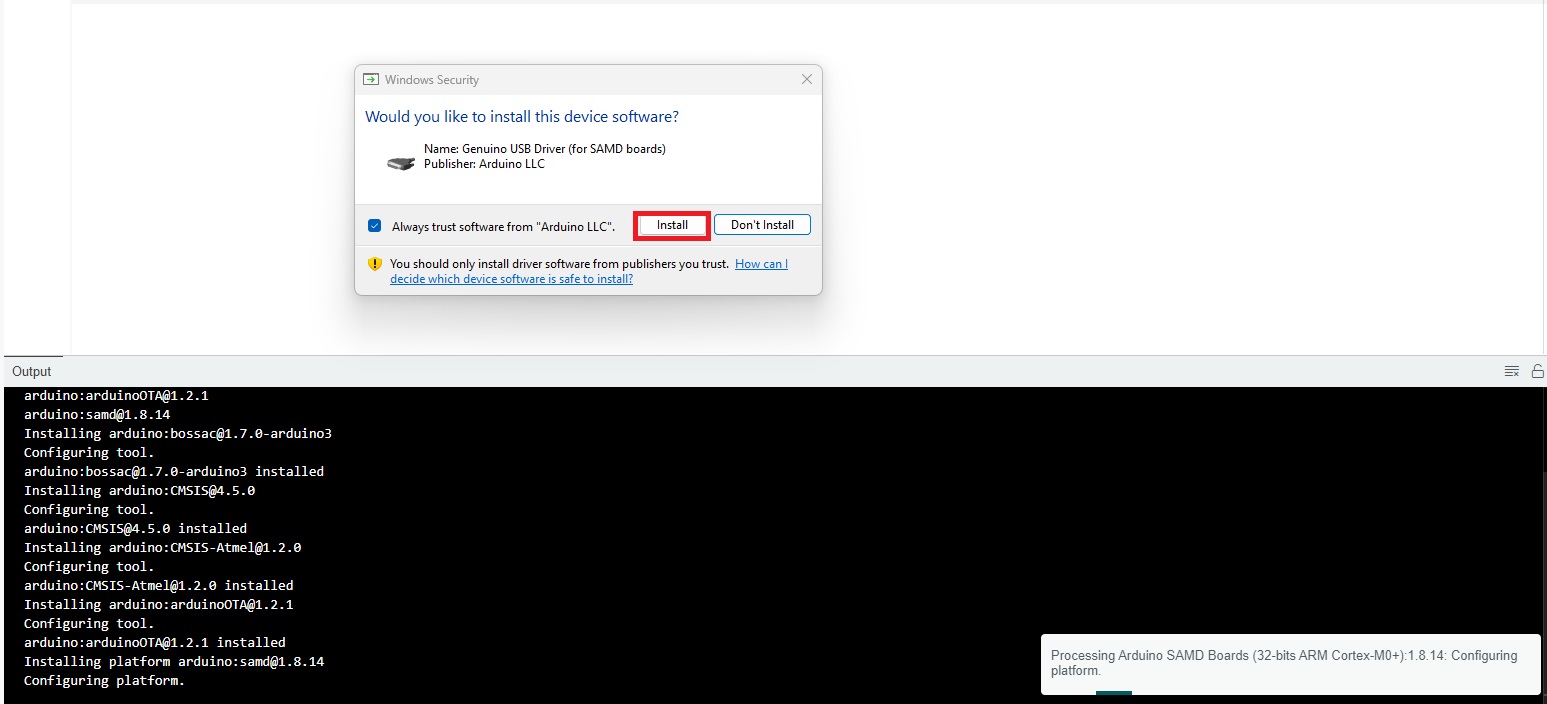
connect board to PC by Micro-B USB cable.
Now select the board and port
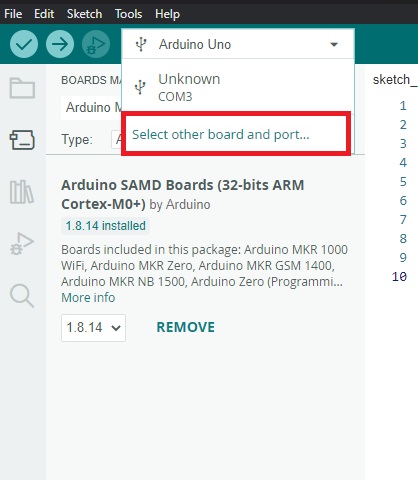

Open the Blink Example code
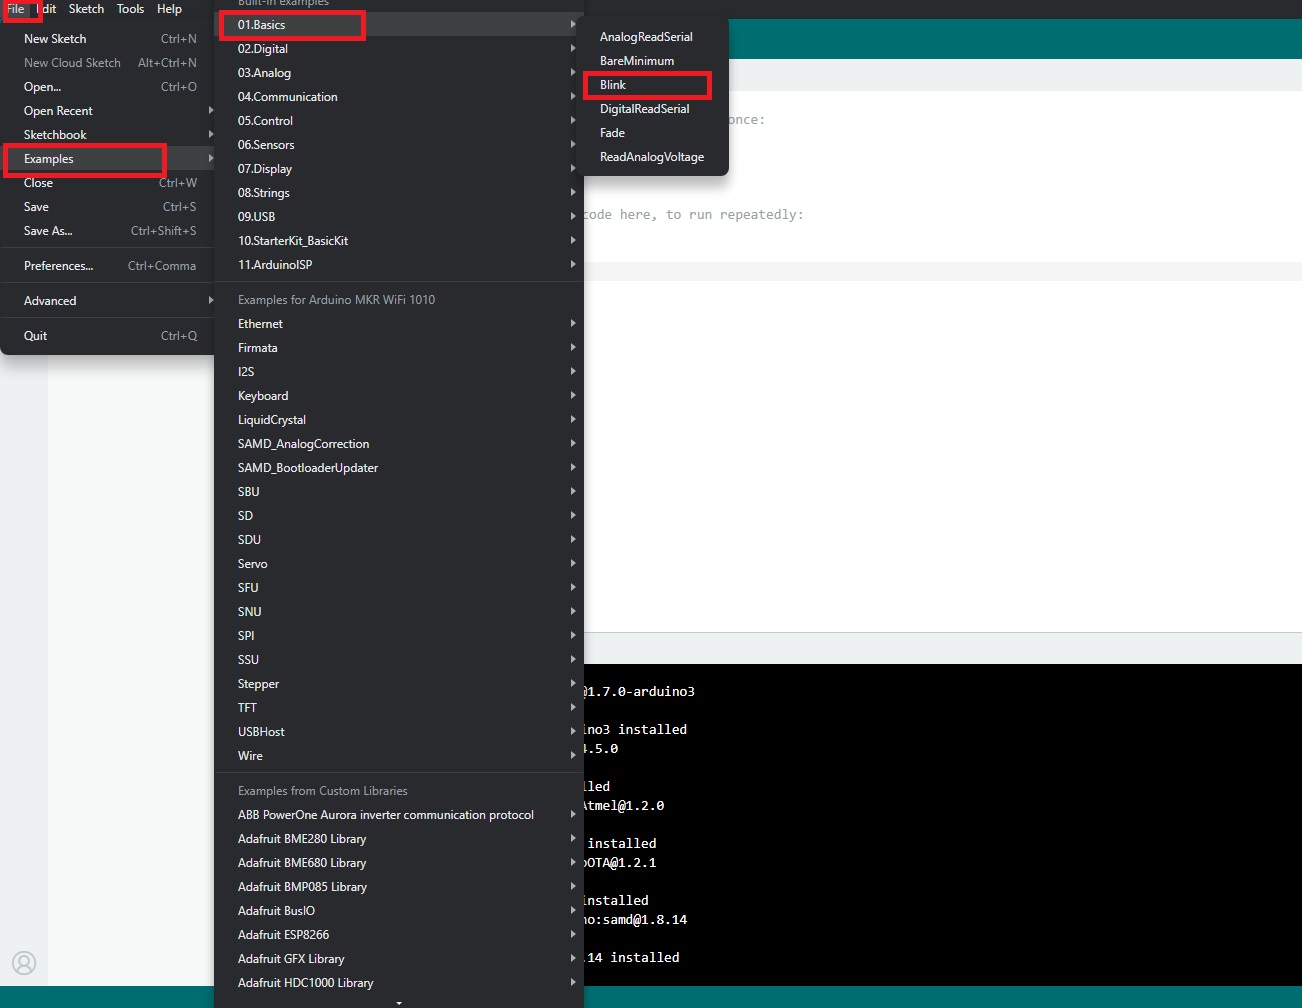
Verify proper board and port is selected and upload the code

congratulations....!!! You have just programed the Arduino MKR Wi-Fi 1010 Board.
Arduino Web editor
This bord is IOT enabled so it can also be use for Many IOT and remote application and it can be Programed from Arduino Web editor .
The Arduino web editor allows to write and upload the code to bord directly from web browser.
the Web editor is online that allows to code and save it to cloud and it can be access from any device.
the editor automatically detects the board and configure itself accordingly
you just need to
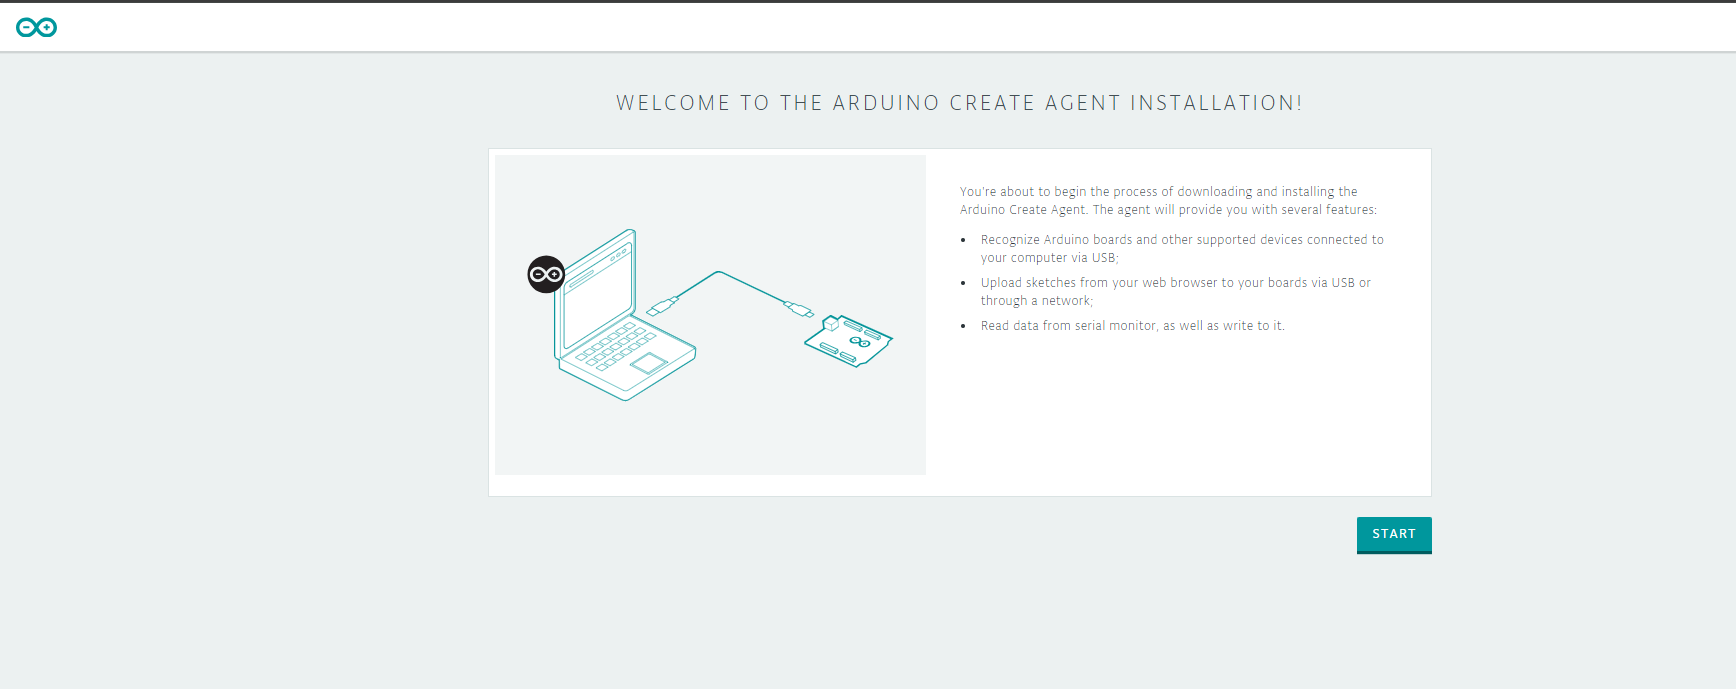
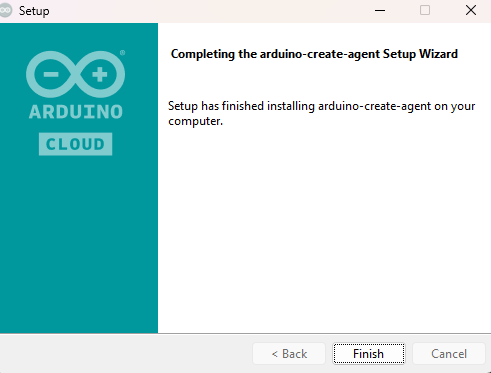
Install the Arduino Create Agent
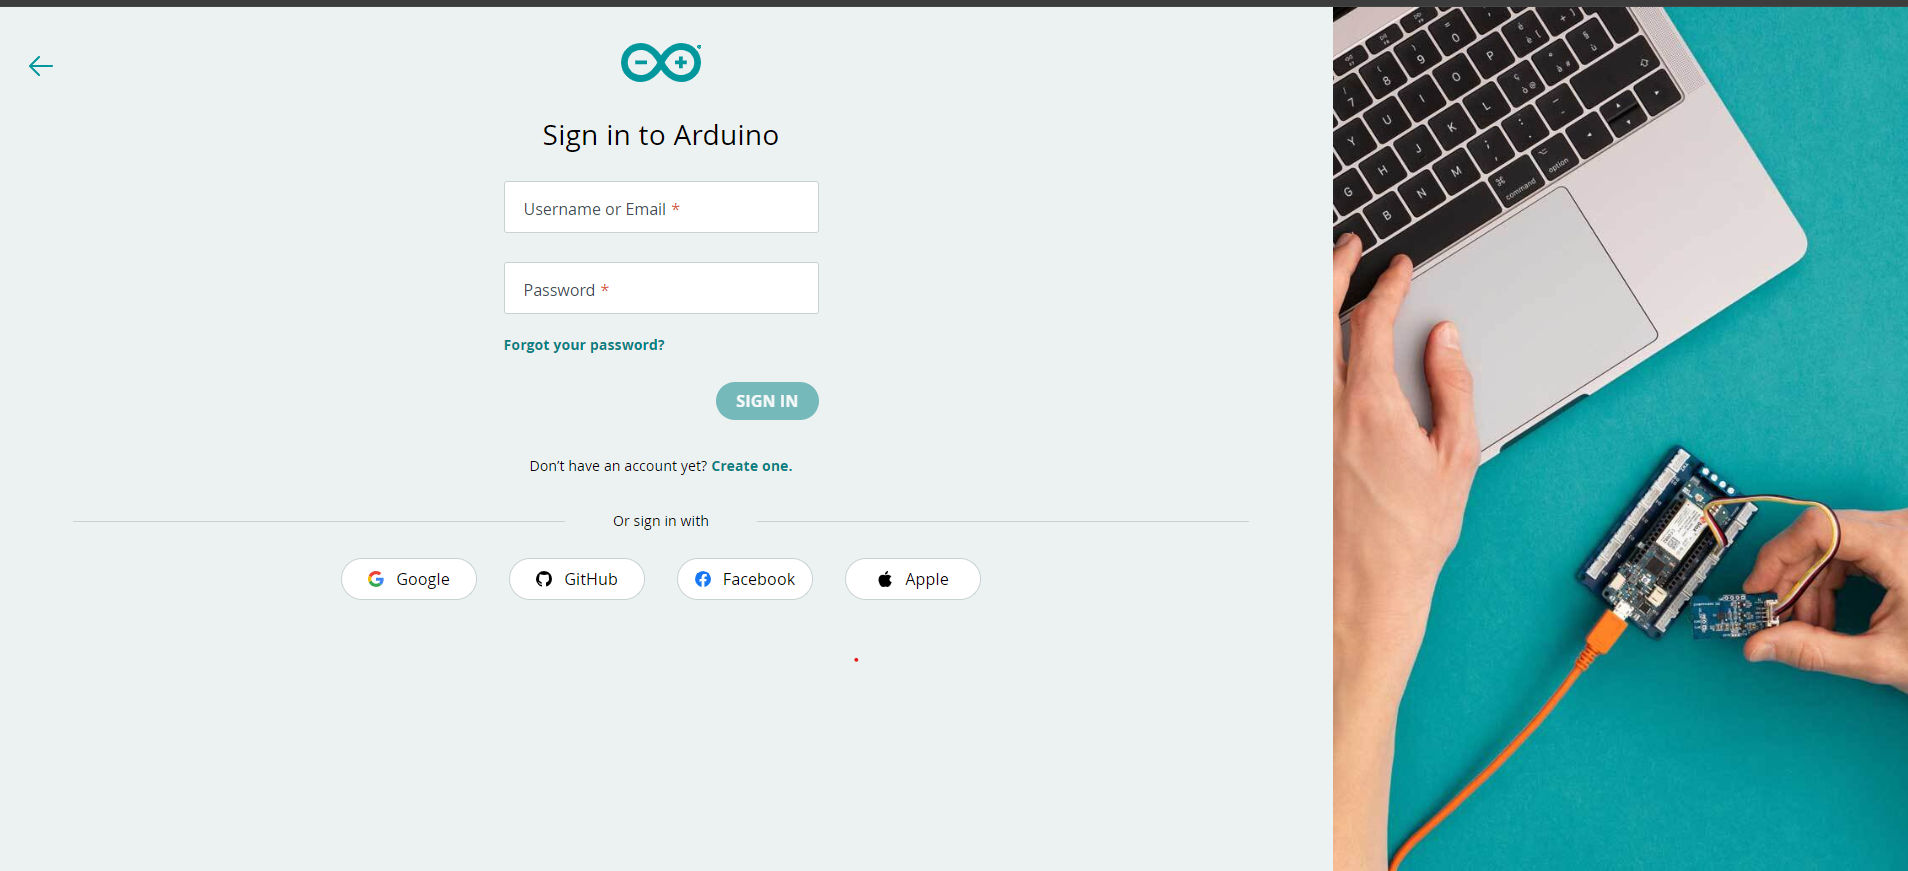
Login in to Arduino Web Editor if don't have account create one
Online IDE will open

connect bord to PC
activate the create agent

select the board and port

Now lets try basic code to blink led
open blink code from Examples
upload the code
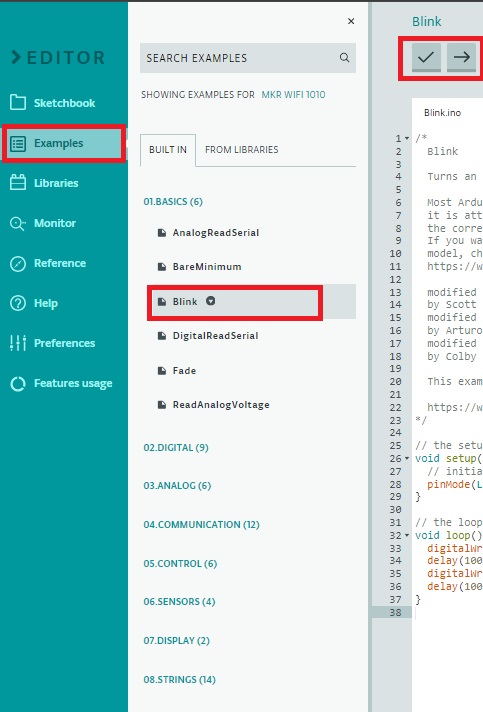
"successful:done" upload will appear in output area and led will start blinking.
That's how you can upload the code from Arduino web editor.
for detail process visit- https://docs.arduino.cc/learn/starting-guide/the-arduino-web-editor/
Project on MKR 1010
If want to try some projects here is one - https://robu.in/how-to-control-your-devices-remotely-with-arduino-mkr-wifi-1010-web-server/
Watch project video here-https://youtu.be/okG_J8r_KxM
Applications
Arduino MKR Wi-Fi 1010 has Bluetooth that can perform both a BLE and Bluetooth client and host device. A low power Wi-Fi with operating range of 2.4GHz. hence it can e used
in Prototyping and IOT application like building sensor network connected to office or home to create a BLE device sending data to a cell phone and many of the basic IOT application.
Conclusion
Arduino MKR Wi-Fi 1010 bord provide the important feature like Wi-Fi, Bluetooth, battery adapter with in build charger which makes it very suitable for IOT it can also be use in prototyping. Programming this board is also simple as other Arduino boards and can be program from Arduino cloud Web editor. Arduino MKR Wi-Fi 1010 is also compatible for Arduino cloud projects.



Ankit Saini
Friday, April 12, 2024